venerdì 30 marzo 2012

red velvet cake ... yes I can!


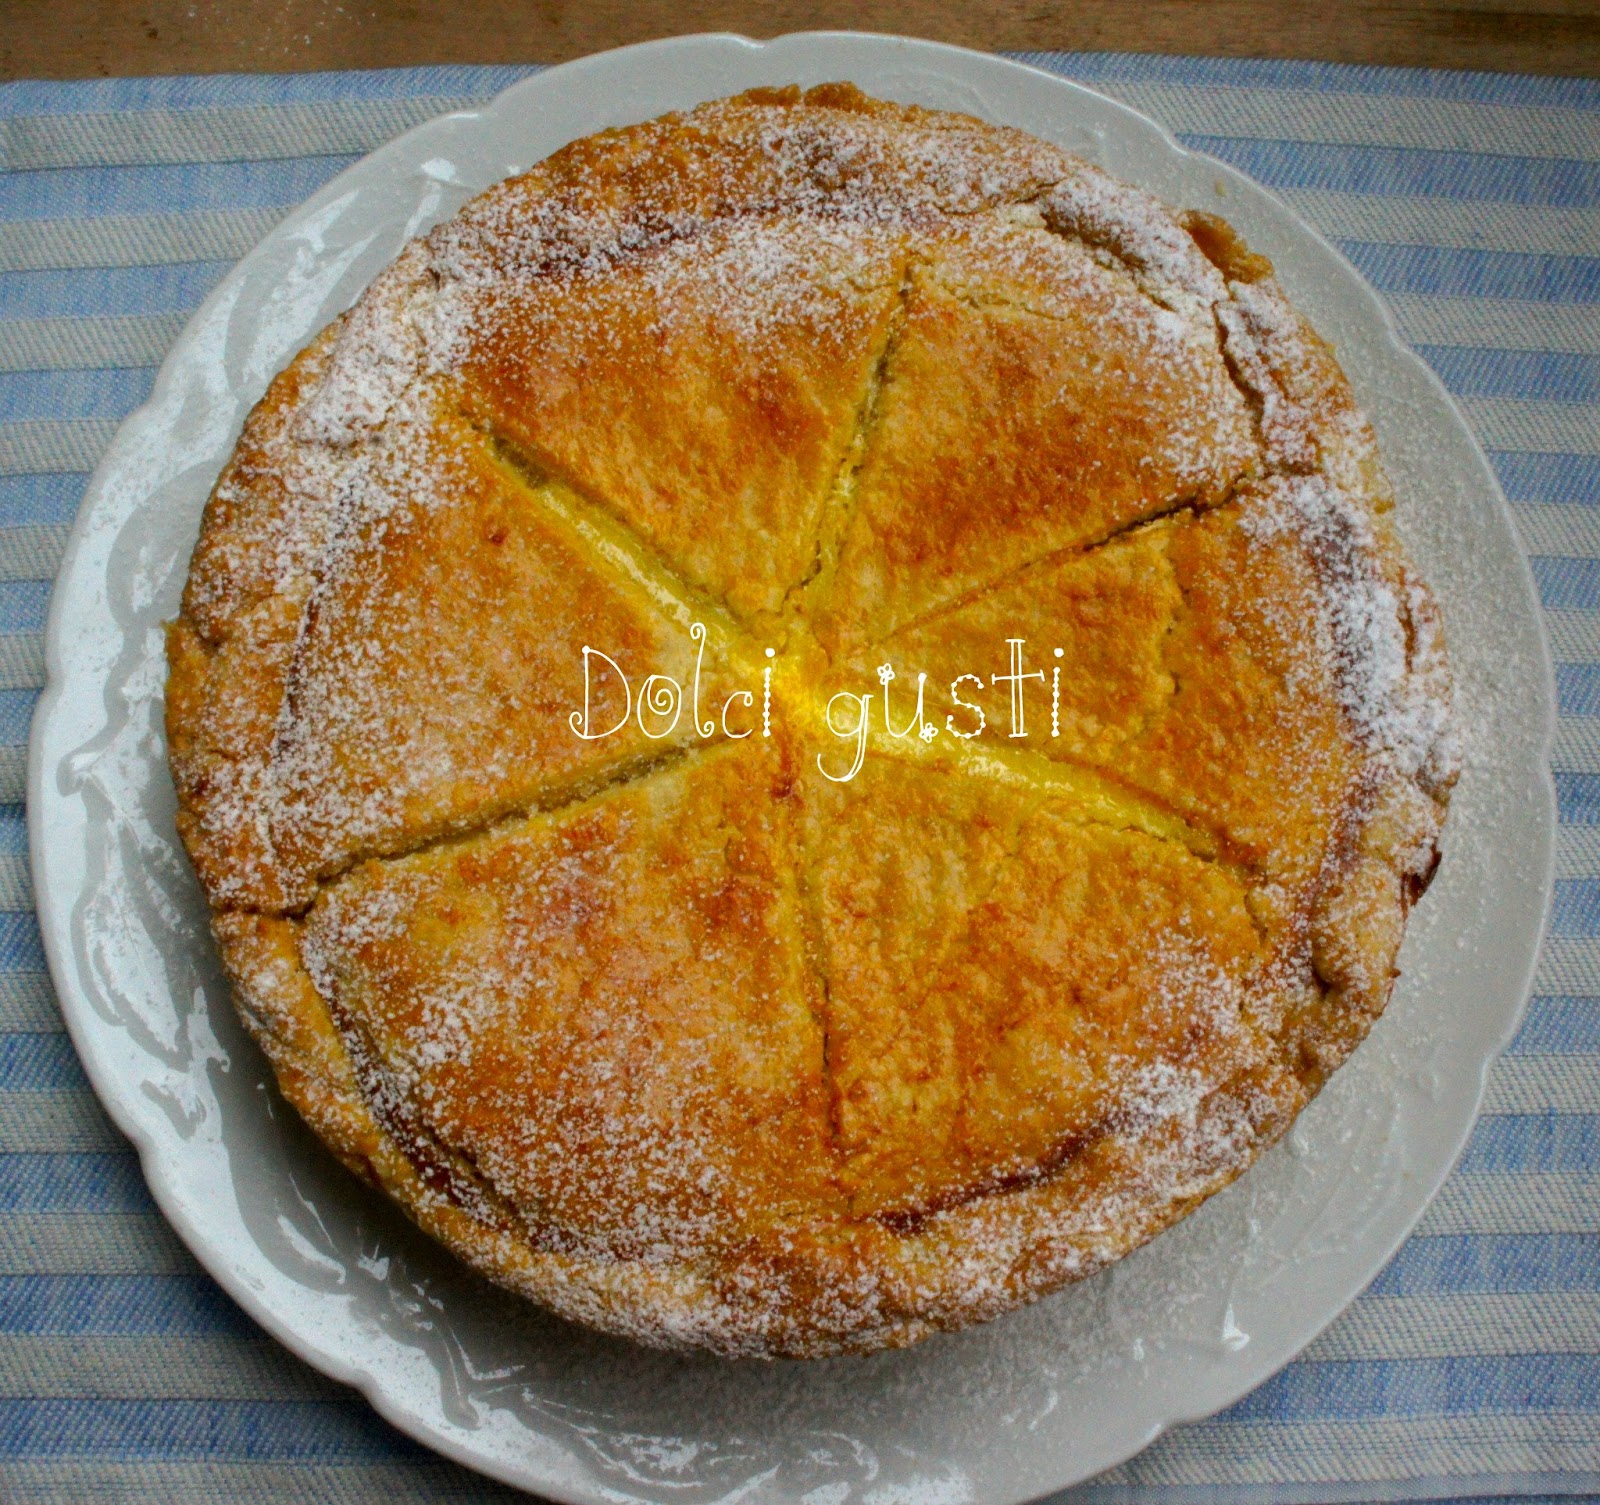
After having seen in several blogs this delicious, coloured cake, I have been finally decided to remake it in my beloved kitchen. Reading the ingredients you can be scared by visions of colesterol but you will be unexpected surprised by the delicious and delicate taste in your mouth. I got the recipe herein the  blog joy of baking: I went to the source...


Ingredients for the 2 red cakes: 
250 g sifted cake flour
1/2 teaspoon salt 
15 g bitter cocoa powder 
113 g unsalted butter at room temperature 
300 g caster sugar 
2 large free range eggs (or 3 if little) 
1 teaspoon of vanilla extract 
240 ml of buttermilk* (I used half whipping cream and half milk) 
2 tablespoons liquid red food coloring (I needed 3) 
1 teaspoon white distilled vinegar 
1 teaspoon baking soda


Method
1. Sift together the flour, cocoa and salt. In the bowl of the electric mixer beat the butter until soft, add the sugar and beat until fluffy and clear. Add the eggs one at a time. Add the vanilla extract and beat until well combined.
2. In a measuring cup whisk the buttermilk with the red food coloring. With the mixer at low speed alternately add the flour mixture and buttermilk to the butter mixture, in three times, beginning and ending with the flour. 
3. In a little bowl combine the vinegar and baking soda, wait the mixture to fizz and then pour into the cake batter. Divide the batter evenly between the two prepared pans and smooth the tops with a spatula. Bake in preheated oven to 175°C for 25-30 minutes. Make the toothpick test. Cool the cakes in their pans and then wrap in plastic and place them in refrigerator for 1 hour. 


 Ingredients for the Cream Cheese

  • 227 g cream cheese  (I used fresh goat cheese, ricotta) at room temperature
  • 227 g of Mascarpone at room temperature
  • 1 tablespoon of vanilla extract
  • 115 g sifted icing sugar
  • 360 ml cold heavy whipping cream

1. Beat in the electric mixer the cream cheese and mascarpone cheese until smooth, add the vanilla extract and the confectionary sugar and beat until smooth. Using the whisk attachment gradually add the whipping cream and beat until the frosting is thick. 

Assemble:

With a knife cut each cake layer in half, horizontally. Put one of the 4 cake layers on the serving plate (top of the cake facing down). Spread the layer cake with the frosting, place another layer of cake on top of the frosting and continue to frost the cake layers, and the top and sides of the cake. 


Serves: 10/12 slices.


martedì 13 marzo 2012

apricot pie with yogurt and goat cheese (ricotta)


I love the goat cheese, since I discovered its lightness and the total absence of flakes, this goat ricotta has become my favorite one for preparing desserts such as this delicious pie or cheesecake. It's a fresh cheese so you don't meet that unpleasant bitter aftertaste typical of products with preservatives. This cheese is obtained with the serum that is formed during the processing of milk into cheese: it's a food rich in protein and low in fat. So let's taste this noble food. Really delicious eaten absolute and perfect for many sweet and savory preparations.


Here it is in plain sight while biting into a warm slice of this delicious pie, it winks between the fruit and fork with its sublime flavor, delicate and "right". 


This recipe taken from the Encyclopaedia of Great Mastry Pastry Academy, participates in the contest of my friends  Assunta Donatella.


Serve: 8 slices
Ingredients for the filling:
  • 250 g goat ricotta 
  • 250 g yogurt
  • 170 g caster sugar
  • 4 free range eggs
  • 1 organic lemon
  • 6 apricot jam
  • 250 g apricots in syrup (weighted drained)
  • butter for the pan
for the shortbread
  • 300 g flour
  • 150 g softened butter 
  • 150 g caster sugar
  • 1 lemon zest
  • 1 free range egg
  • 1 teaspoon of vanilla extract (optional)

    1. Prepare the shortbread mixing quickly all ingredients, flatten it with a rolling pin between two baking papers. Store in the fridge while preparing the filling. 
    2. In the meanwhile prepare the filling: in a bowl mix the ricotta cheese with yogurt and sugar  with a spatula, then add 3 eggs one by one and the lemon zest. 
    3. Divide the dough in two parts one larger than the other. Roll it in two discs of 20 and 26 cm in diameter. 
    4. Grease a springform pan (I used a mold disposable) and cover the bottom and the sides with baking paper wet and squeezed, upward out so that you can unmold the pie without breaking it (it's a useful trick to unmold the cakes with a soft inner). Close the pie with the larger disc.    
    5. Prick the bottom with a fork, spread the jam on the top, then pour in the ricotta mixture; level with a spatula and dip the apricots into the mixture. Cover with the other pastry disc, engrave with smaller cuts, radially folded over the edges of the pastry and brush the top with the remained egg beaten.  
    6. Bake the cake at  175° for about 1 hour and serve warm, an experience!, or at room temperature.  


    venerdì 9 marzo 2012

    Layer cake with berries and chocolate icing


    You need a  sponge cake of Montersino because it is so soft and lofty that you can have three layers to be stuffed. When you cut iit into three lawers use the bottom as the top, to have the surface smooth and flat ...like this:…


    For the filling:
    300g berries (even frozen ones)
    2 tbs brown sugar
    100 ml water
    150 g caster sugar
    350 g whipping cream

    1. Mash the berries in a bowl with the brown sugar and let macerate for 15 minutes. Boil over high heat for about 5 minutes the water with sugar for a syrup. Let cool a little and pour over fruit and stir.


    2.  Combine the berries with the cream whipped to 70% in a cooled bowl in the freezer along with the electric beaters. Fill the two layers of sponge cake with the mixture of cream and berries.

    For the frosting:
    • 350 g dark chocolate  (70%)

      Prepare the frosting with dark chocolate melted in a double  boiler or microwave. Proceed to the tempering* of chocolate before using it.


      Spread the frosting over entire cake, and over the sides.


      Serve with cocoa powder.


      * In his book paul.a.young also explains the ways of manually tempering chocolate, here I report the one that for method and time is faster and easier (you should not pour the chocolate on the working plan). You have to stir solid chocolate into molten chocolate to "inoculate" in it crystals. Take 2/3 of the total chocolate, melt it in a double boiler or microwave until it reaches the temperature of 55° (this is the correct temperature to melt the fats, the sugars and the crystals crystals contained in the chocolate). If you melt chocolate on a double boiler, the bowl should not touch the water but must be suspended  and the water should never boil. If you melt the chocolate in a microwave put it at the highest temperature for 25-30 seconds, stir it gently and put it again in the microwave so as to control the temperature each time. When the chocolate is at 55° pour the remaining chocolate and stir vigorously until it will be completely melted and wait until the temperature  reaches. 27°-28°. The chocolate must be then gently warmed to working temperature, 31°-32°.  

      venerdì 2 marzo 2012

      crêpes (recipe by maurizio santin)


      There is a certain comfort preparing a recipe of a great chef, I took this recipe in the last book of Maurizio Santin, who presents master recipes, well done and explained...a book that is worth keeping for the recipes and photos. Consider that you have to store the mixture in the fridge for 2 hours.


      For about 8 Crêpes:

      • 250 g milk
      • 100 g flour 00
      • 50 g eggs
      • 30 g butter
      • 15 g caster sugar
      • 2 g salt
      • clarified butter (I used butter)


      How to make:

      Melt the butter over very low flame and let cool. 
      Meanwhile sift the flour in a great bowl and add the sugar; apart whisk the eggs with salt and then add to the flour. Stir till you earn a smooth mixture. Then pour the milk, working with a spatula and add the melted butter. Let rest for 2 hours in the fridge.
      Heat a nonstick pan to the desired size, grease it with butter and pour the mixture with a spoon to cover the bottom of the pan in a thin, uniform layer; when the edges are golden, turn the crêpe (I used 2 skimmers and despite the fear of breaking them, you can do it with a precise movement) and finish cooking. Put them on a plate and cover each with a film, let cool and use them as you want...with jam...or
       

      ... with Nutella... I has been transported immediately under Tour Eiffel and if you go running in the park, you can earn one more crêpe... bon appètit!

      You can store them in the fridge for 3 days, covered.